

Network outages always occur at the wrong time. Having cellular failover (backup) for your Starlink connection is the best way to live, work and play without interruption.
how-to-set-up-cellular-failover-for-starlink-banner.jpg Here are step-by-step instructions to set up cellular failover for your satellite connection using a Teltonika Networks router:
Requirements for Failover Setup for STARLINK
-
Starlink device: Make sure the Starlink kit is properly installed and working, including the Starlink router and satellite dish.
-
Starlink Ethernet adapter: This accessory can be ordered from the store in your Starlink app. If you need same-day or next-day delivery, you can also get one from Amazon in some countries.
-
Teltonika Networks router: You'll need a cellular router with an active SIM card or E-SIM. We recommend the RUTX50 5G router as the optimal device for Starlink backup – this device emulates the speed of a Starlink connection to avoid noticeable performance drops when failover kicks in. Otherwise, any Teltonika Networks router will do.
-
Ethernet cable.
How to make failover adjustments?
-
Connect the Starlink modem to your Teltonika Networks router
First, plug the Starlink Ethernet adapter into your Starlink modem and connect the Ethernet cable to the adapter.
Next, plug the Ethernet cable into the WAN port of your Teltonika Networks router (make sure both devices are plugged in and turned on).

-
Connect to your Teltonika Networks router's Wi-Fi network with a laptop or computer
The Wi-Fi network will be called something like “RUT_2342_5G” and the password (unless you changed it) will be on the back of the device.
-
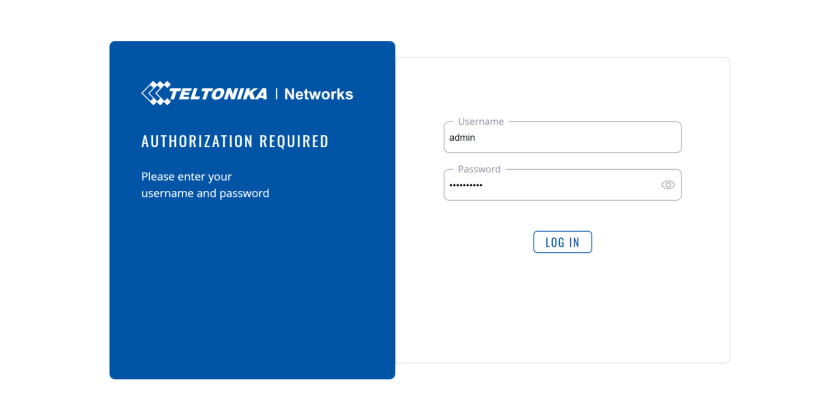
Using your connected laptop or computer, log into RutOS in your web browser.
Open a web browser on the connected device and enter the IP address of the router in the address bar. The default IP address is 192.168.1.1.
You will be asked to enter a username and password. If you haven't changed it before, the information will be as follows:
Username: admin Password: (located on the back of Teltonika Networks router)
-
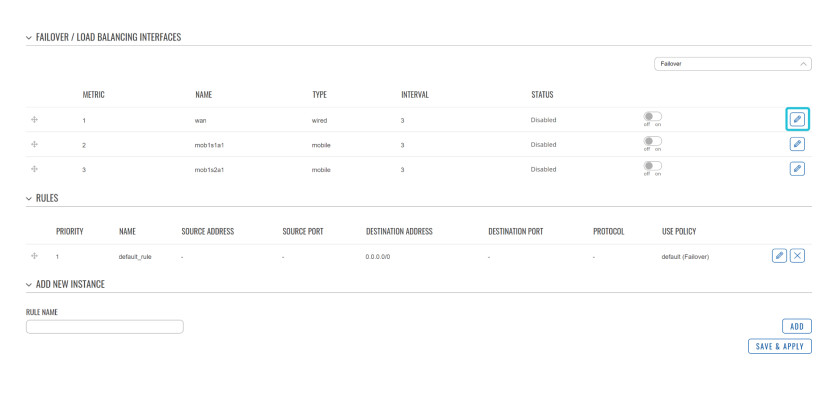
Under Network, set your connection order:
First, go to the failover section under “Network”. You should see “WAN” and “mob1s1a1” in the list. WAN is your Starlink connection and mob1s1a1 is your Teltonika Networks router. Both should be displayed online.
Next, drag and drop WAN to position 1, mob1s1a1 to position 2 - This sets the connection order.
-
In the same section, set failover rules for both connections:
First, click the pencil button for your WAN connection and set the rule to trigger failover.
This can be anything you want. If you are not sure, set the default rule in the screenshot shown below.
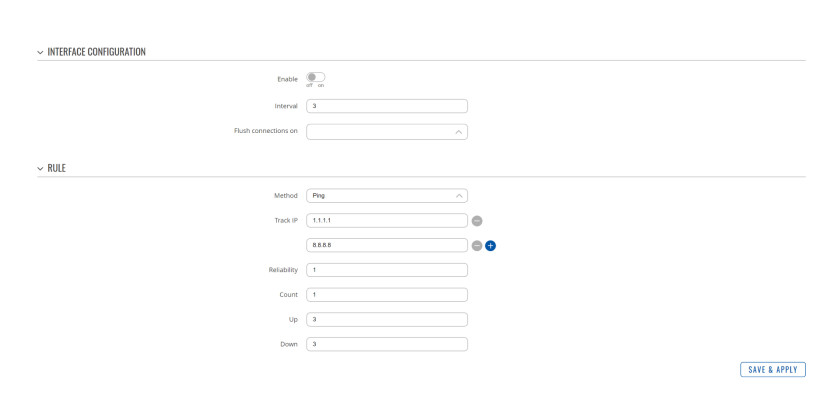
Note: Depending on the stability of your Starlink connection, you can choose to set the range between 3-10 for your WAN connection. We recommend testing which range provides the most stability for your location.
Finally, do the same for your mob1s1a1 link.
Completed! Failover is configured for your Starlink connection and ready to use.
If you want to set up the cellular connection as the primary connection on your Teltonika Networks router and use Starlink as a backup, you can follow the same instructions and simply change the order of the connections by dragging and dropping them in the failover list.
Failover is a critical component in any internet installation, even for satellite connections. This is a default feature on your home internet, office Wi-Fi, and any other connection you'll encounter.
When you create cellular failover for your Starlink connection, you ensure that your setup is as stable and reliable as possible.
Live, work and play seamlessly with Teltonika Networks. Contact your local sales team.